How to - Make a cote
How to make a Medieval Cote
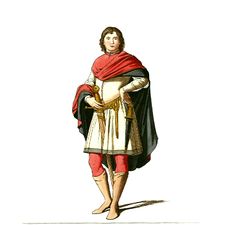
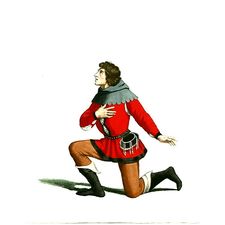
A cote is a front fastening overgarment that looks very medieval - often it's worn in colours that reflect a character's allegiance to a household or group. It's ideal for the Marches, Dawn and Highguard, and could be adapted for other nations through imaginative use of fabrics. You can vary the length from a daring 14th century mid thigh to a conservative late 1400s knee length, or even longer for a scholar or doctor character.
You will need
- 2m of wool, cotton velvet or heavyweight linen 60 inches wide
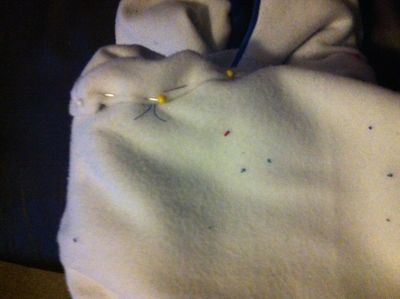
- 2m of cotton lining (Bomull from ikea is great - £1.75 per metre for unbleached calico - the one in the walkthrough is actually lined in polar fleece/old ikea blanket for keeping a small person cosy at night)
- Thread in a matching or darker colour.
- A tape measure
- A pen, soft pencil or chalk
- Buttons - pewter if you're feeling fancy, wood if you're feeling understated
- An iron
The Basic Process
What we're going to do is draw a simple pattern consisting of two back and two fronts based on your body measurements. We'll then assemble the lining and the outer fabric step by step, with no visible machine stitching or need for hand finishing except for the bottom hem which you can choose to finish by machine or by hand depending on your preference. There are quite a few steps to the process but none of them is hard, and by taking it a bite at a time even a beginner can make a success of the project.
Making your pattern
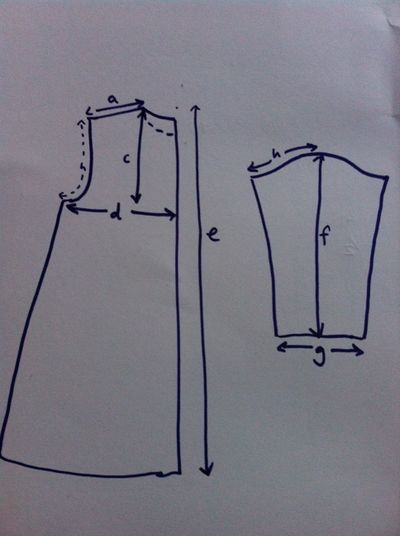
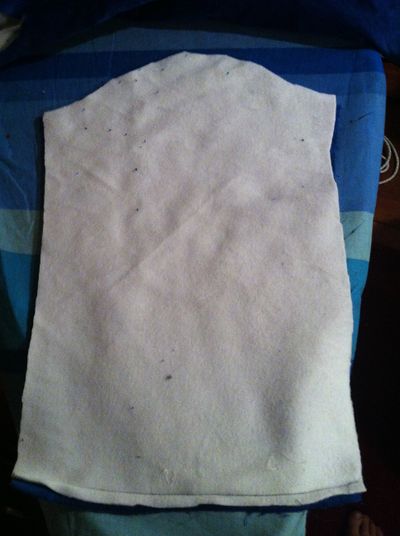
These are the two pattern pieces that you're going to map out - a torso piece where the back and front only differ in the depth of the neckline (about 1 inch at the back, about 3 inches at the front) and a sleeve piece.
When you're cutting out, cut the back of the coat on the fold of your fabric - it saves you having to sew up the back seam.
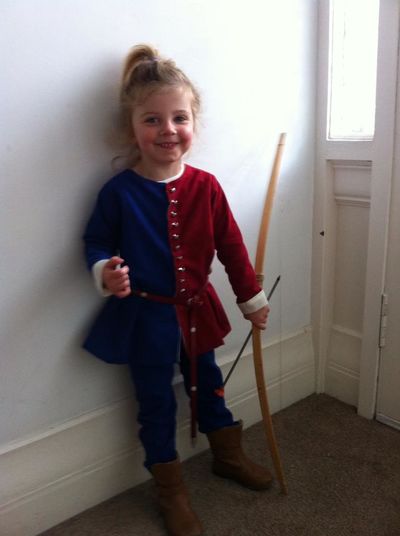
The coat you'll see being made in the walkthrough is a toddler sized one but the process is the same (the neckline is a bit shallower on both sides and there's a little less ease in the body, but it otherwise follows the same process.
Key to measurements
- a)point of shoulder to base of neck. Point of shoulder to centre back distance is (1/2 of the distance between left and right shoulder points, +1 inch)
- c)shoulder to a couple of inches below your armpit - give yourself a bit of room here
- d)2 inch + 1/4 of your chest measurement
- e) nape of neck to length you want the coat to be, + 2 inches
- f) shoulder point to knuckles, + 1 inch
- g) put the measuring tape round your wrist in what feels like a comfortable cuff width. Make sure your hand can slip through easily. Add 1 inch.
- h) is actually easier just to measure on one of the body pattern pieces, then use that length to shape a nice shallow curve for the top of the sleeve piece.
When you're patterning out your sleeve, you might find it easier as I've done to do it on the fold so both halves are identical. Just remember to half g) if you're doing it that way, otherwise you'll get excitingly baggy sleeves.
Cut two fronts, two back and two sleeves of both outer and lining fabric.
Sewing it up
Body
If you have a preferred way of assembling garments then do it whichever way suits you! Here follows a step by step walkthrough for one way of many to do it. 1/2 inch seam allowance is about right.
Very important! The difference between a good outcome and a great one is pressing your seams as you go along.
Set your iron up now beside your sewing table. Every time you sew a seam, press it open. You can sew a few then press them in batches to save time if you like, but don't sew across a seam before you've pressed it. Promise me!
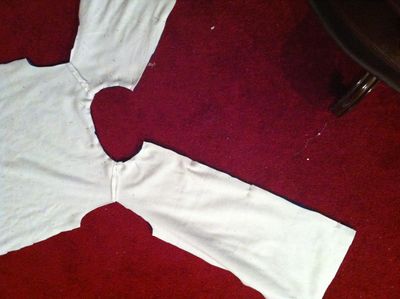
- Take your lining pieces and sew the fronts to the backs at the shoulder seams. Press the seams open. Repeat for the outer fabric.
- Next, lay your lining on top of your outer, right side to right side, matching seams and shapes.
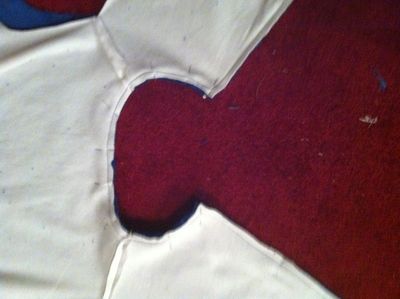
- Pin up the front, round the neckline and down the other front.
- Stitch along your pin line.
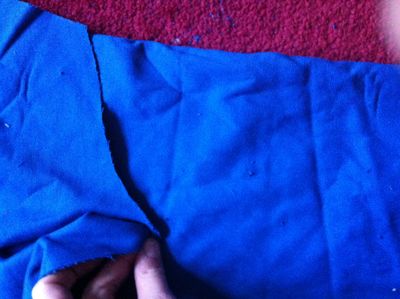
- Now clip your curves. This means cutting little v shaped notches out of your seam allowance, almost to your stitching line, which allows the fabric to curve neatly when you turn it the right way out.
Press the front edge, neck edge and armholes.
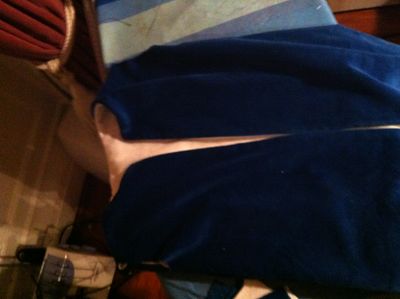
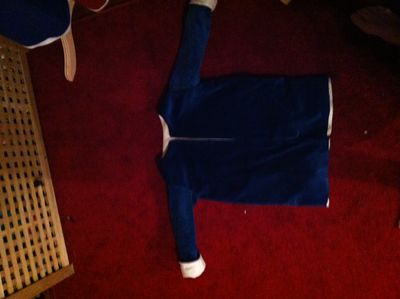
- Next you're going to sew up the side seams - outer layer, right side to right side, then lining, right side to right side. You should now have a fetching waistcoat shape!
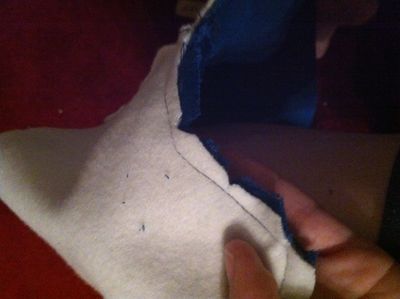
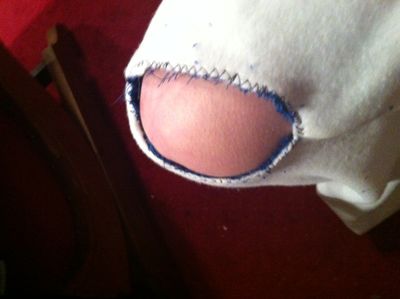
- Before we go on to the sleeve, pin the outer and lining together, wrong side to wrong side round both armholes, then stitch or zigzag the two layers together very close to the edge. You're going to treat both layers as on at the armhole from now on.
Sleeves
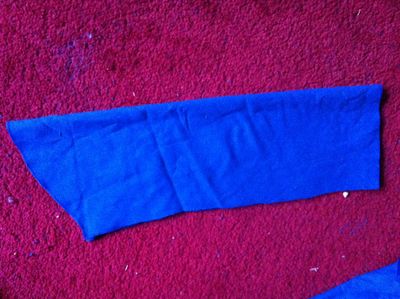
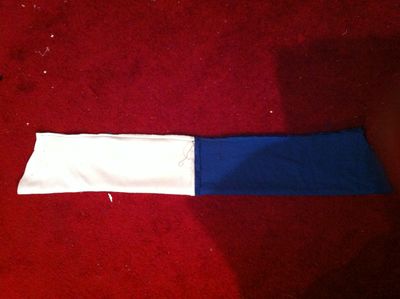
- Right side to right side, sew one outer sleeve to one lining sleeve along the cuff edge. Repeat for the other sleeve.
- Now open those two layers of fabric out, and, matching the seam, fold the sleeve in half down its length, and pin down the long edge. Making sure you've matched the seam, stitch all the way down the outer and keep going all the way down the lining.
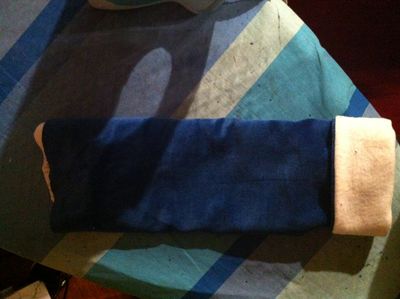
- Turn it so the outer is on the outside with the lining on the inside. You can turn back the cuff - this is why the sleeves are so long!
- Tuck the lining down the sleeve - you don't want it getting caught in the next bit.
Attaching sleeves to body
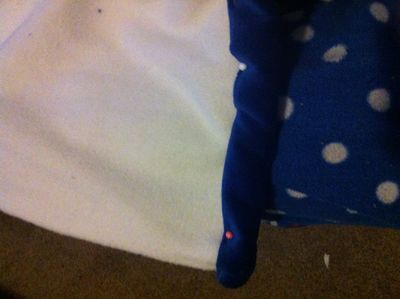
- Matching the underarm seam of sleeve and body, and the midpoint of the top curve of the sleeve with the shoulder seam, pin the sleeve into the armhole, matching right side to right side. The pattern gives you ever so slightly more sleeve length than armhole length - usually you can fudge this with the pins, but if you've got too much sleeve for the armhole shave a little bit off the top curve.
- Now sew round the armhole, attaching the sleeve. Repeat for the other side.
- You are nearly done! Just a bit of hand sewing and buttonwork to do.
- Now let it hang, ideally overnight on a hanger or a dressmaker's dummy.
Finishing
You've got three more jobs to do- deciding on fasteners, sewing the sleeve linings into the body of the coat, and hemming the bottom edge.
Hemming
Use a method of your choice. For this I like to turn the hem up and tuck the raw edge in, then handstitch it down.
Attaching the sleeve lining
Pull the sleeve lining up so it's poking out of the armhole on the inside. Pinning as you go, turn the raw edge of it under, and pin the sleeve lining into the armhole, matching seams.
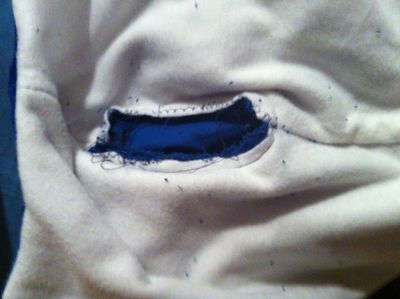
Now handstitch the sleeve lining to the lining of the body, trying not to catch the outer fabric of either. Your stitches don't need to be too tiny or neat, but secure your thread well and put a few extra stitches in to lock your thread every few inches.
Fasteners
If you have a buttonhole attachment on your machine, you're laughing for the next bit - just mark your buttonholes at the desired spacing with the button-marks equally spaced on the other side, and away you go. I like to use these buttons spaced one inch apart.
You can work your buttonholes by hand, too - folk in the middle ages didn't seem too fussed about making them all that neat. Or, if that amount of handsewing doesn't appeal, you could use Norwegian clasps like these ones for a different look.
I'm still waiting for the buttons to arrive for the blue velvet one, so photos will have to wait too.
Wearing it
Wear it belted over a close-fitting pair of trousers or hose, and you'll look very swish. A narrow charity shop belt (about 1/2 inch wide) with a plain brass buckle will set you back about £1 and looks very authentic with it - in my opinion more so than a broader one.
Got an extra £5? Make Harry happy by making some shoulder or headwear
Buy 1m of nice wool and use one of the patterns on this page to make yourself a hood or chaperon.
Got an extra £20 and want something really useful and special?
Order yourself a medieval belt in a colour of your choice, like one of these. Tie round waist with the end dangling down and feel brilliant.
Hungry for more?
Why not use the How to - Make a simple tunic tutorial to make a short T tunic to go under it - if you get an extra 2m of ikea bomull cotton it makes a great lightweight underlayer and you're still under £30!
