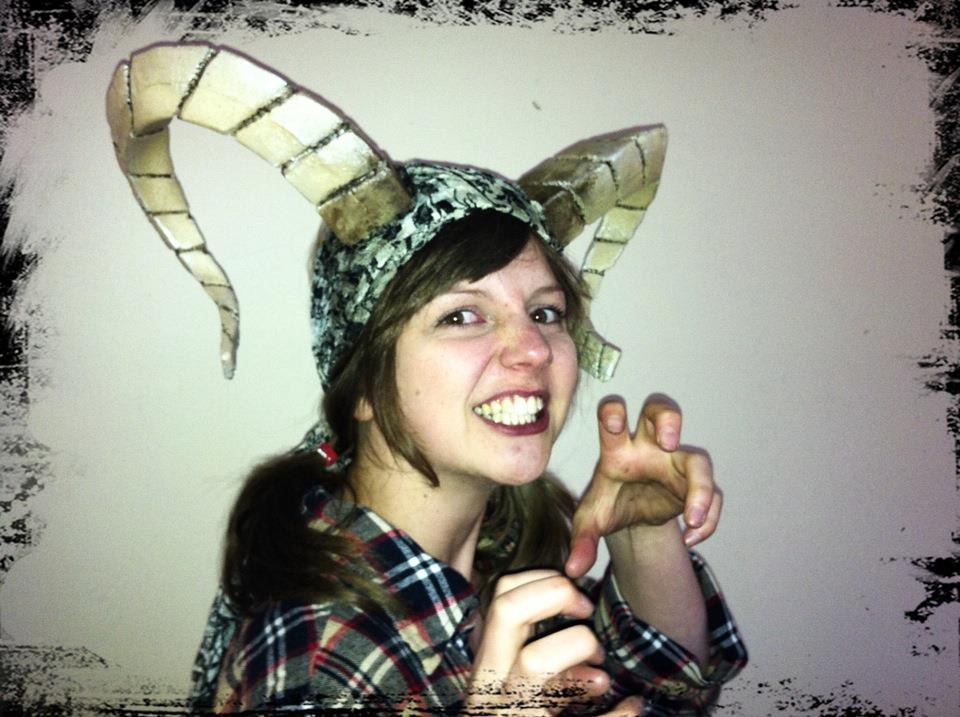
How to - Make cambion horns
This guide was created by Denise Piggin of Custom Costume Company.
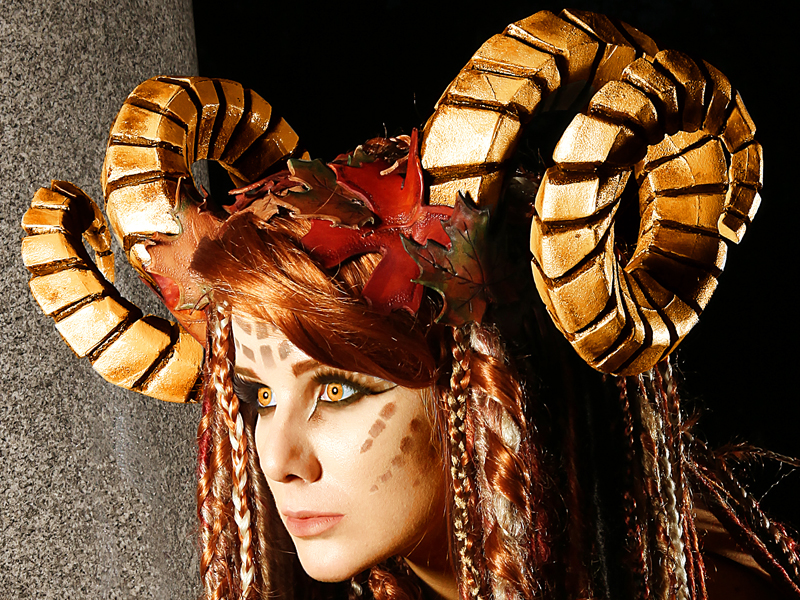
Curved horns are the iconic trapping of a Cambion. This guide will show you how to make your own.
You will need :-
- A Friend
- Pencil
- 20mm thick Plasterzote foam
- Stanley knife or craft blade (you will need spare blades)
- Evo – Contact glue
- Glue thinner
- Heat gun
- Soldering Iron
- Acrylic ink
- Varnish spray
Sooo, here goes…
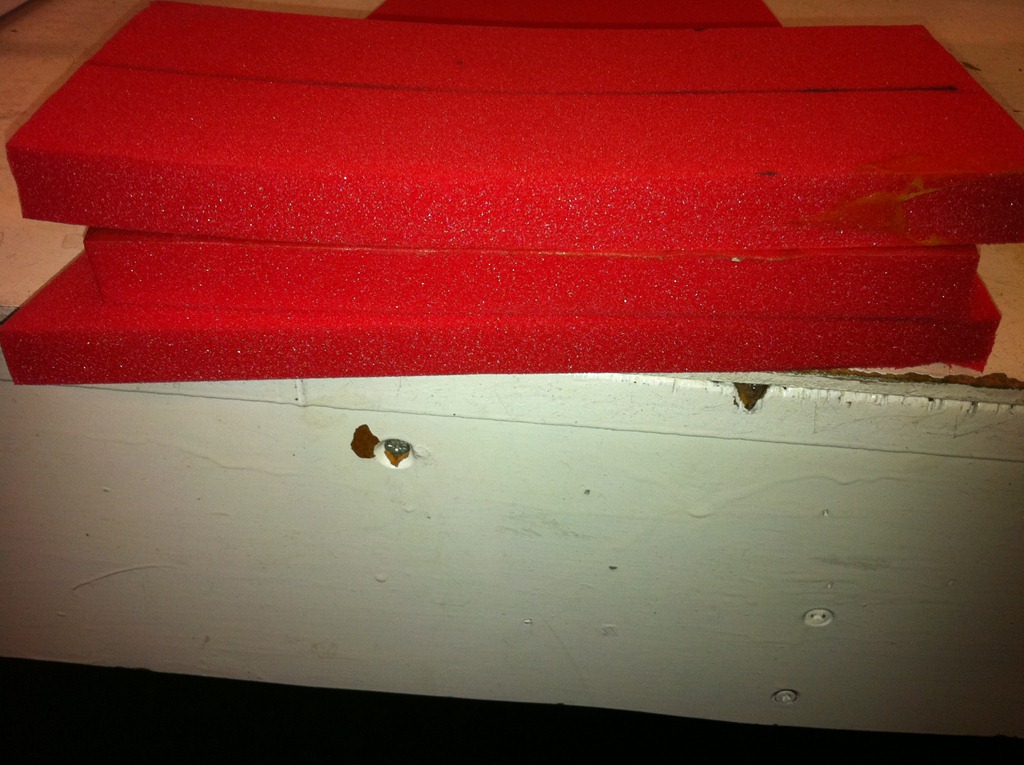
Firstly decide how curly and big you want your horns to be (The inner and outer curl will be different lengths). Once you have decided length and width of horns, cut three stripes of Plasterzote foam and mark up the centre line on each piece with a pencil. Do not use an ink pen as the ink has a habit of bleeding through the paint.
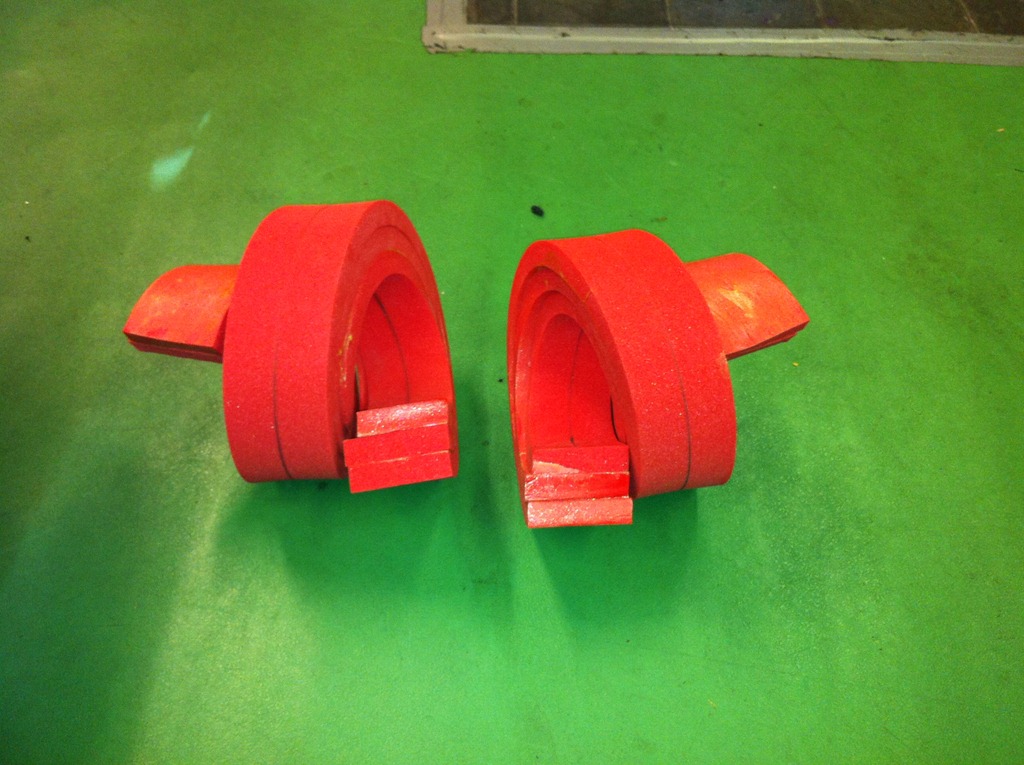
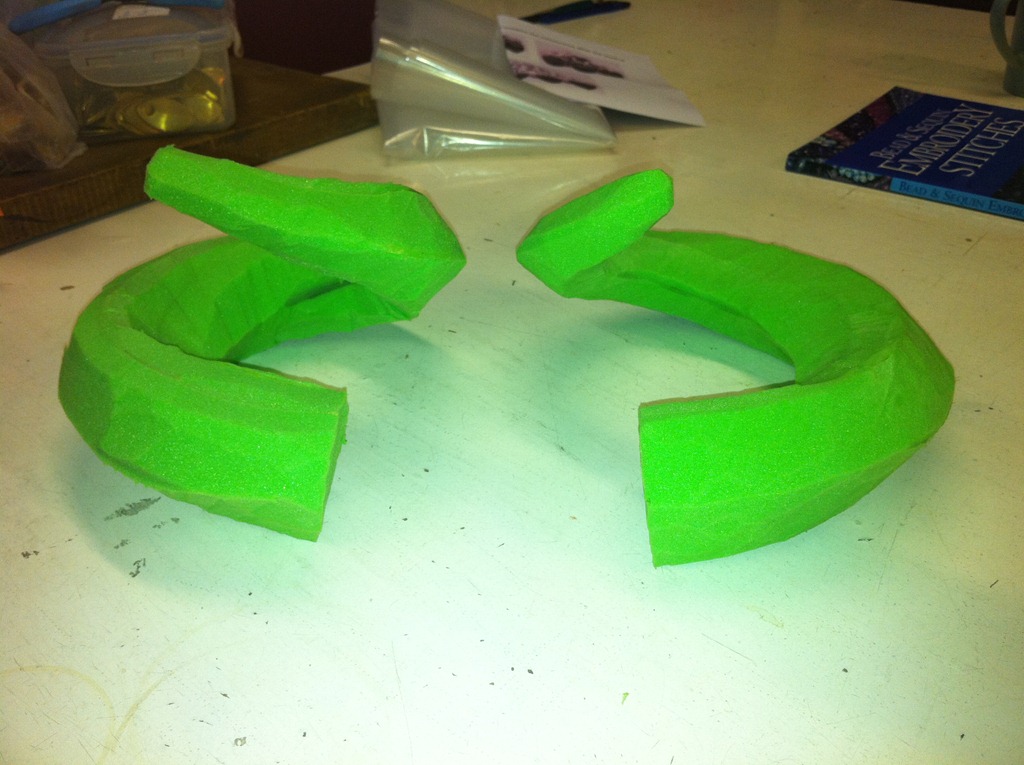
The next stage is to glue one side (the side without the pencil marks) with the contact glue on two of the pieces of Plasterzote. Once the glue is ready to go manually curl one of the pieces of plasterzote while your friend carefully glues the other piece in place, this will permanently ‘laminate’ the curl into the foam, You will get some spring-back but not much. Now Glue-up the outside edge of the horn and the remaining piece of plasterzote and once again laminate in place. The third piece of foam can be used to make the horn shape tighter if needed. Also if you are not comfortable with manually shaping the horn, you can wrap the foam around different sized tubes to create the shape. BUT remember you have to curl the other horn the opposite direction otherwise you will have to left or right horns
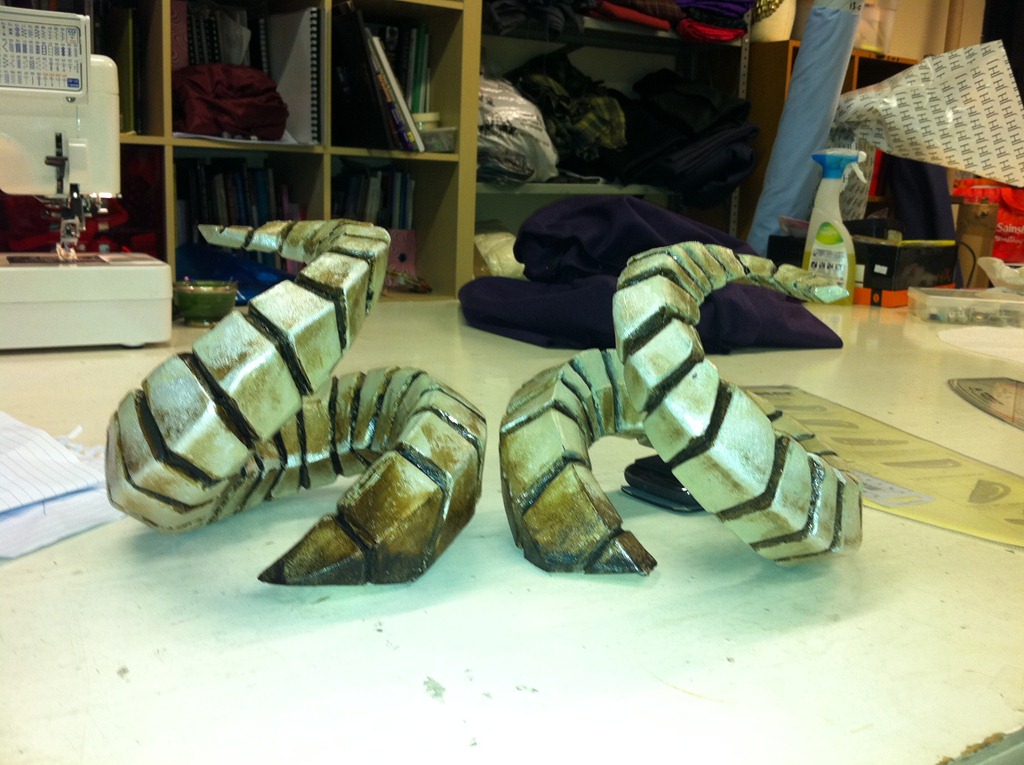
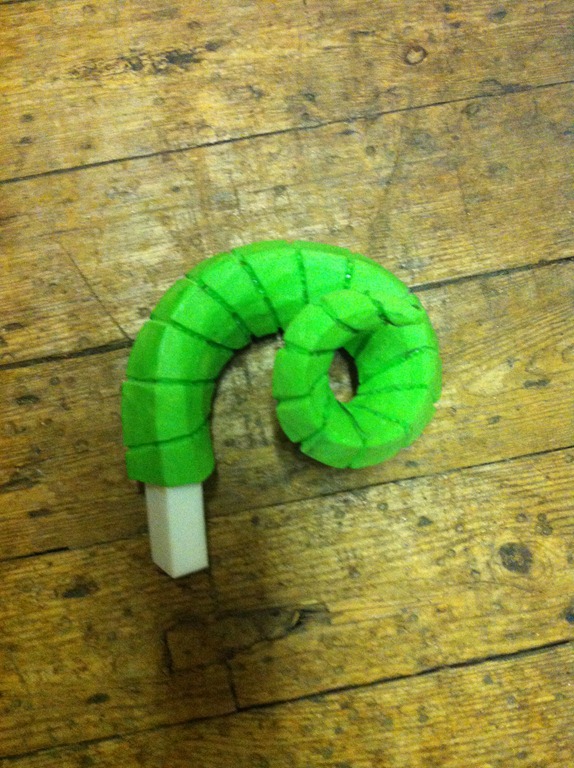
Once you have your horn blanks its simply a process of carving into the foam to get the shape. I draw the rough shape onto the foam before I start carving to ensure as much symmetry as possible. I should warn you, the foam dulls craft blades very quickly, so you will need quiet a few.
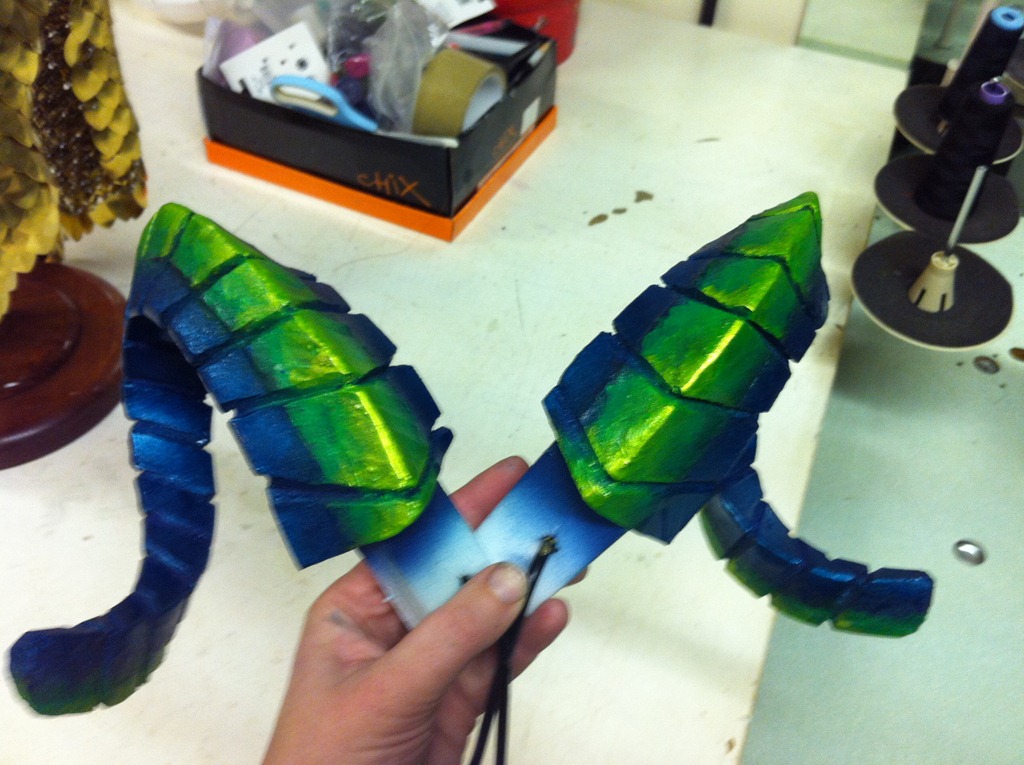
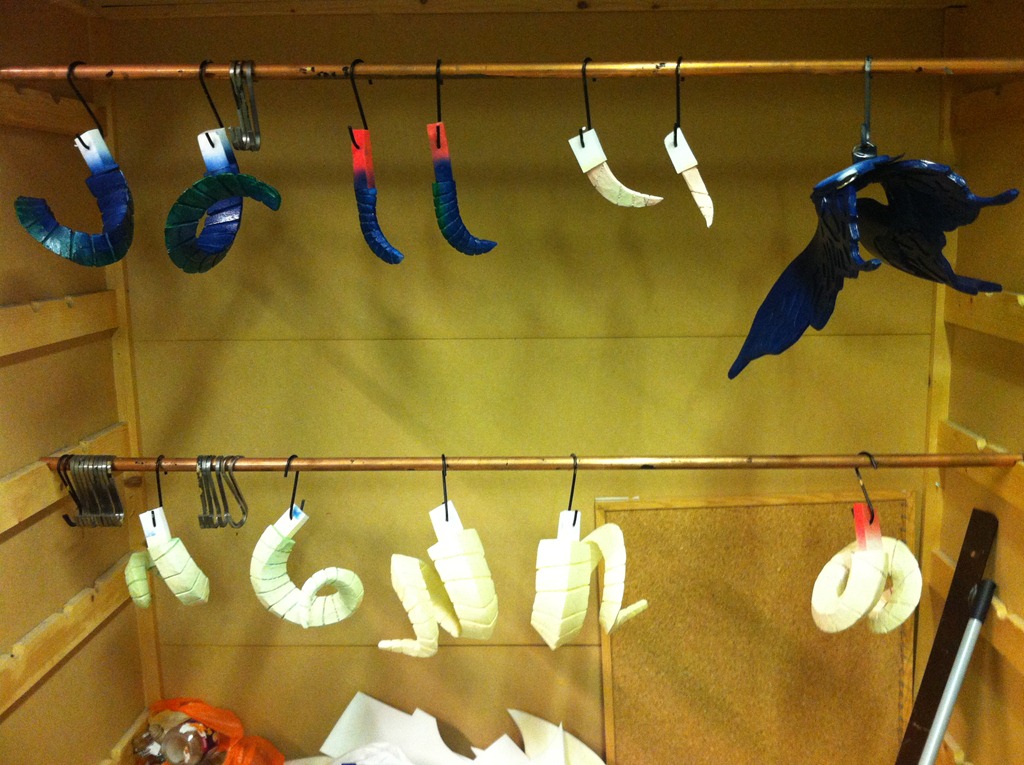
You may have noticed the horns have changed colour, I made up multiple sets of horns in the same day and forgot which set I was photographing! Anyway, once you have sculpted the horns you have a few options, you can leave them plain or you can carve lines into the horns, I prefer this style as it has more details. If you want to carve lines into the horns, mark them with a pencil and then either cut-out a grove or solder them in. WARNING – if you solder the lines wear a mask, the fumes are very toxic!!!!! Also if you have a heat gun you can carefully heat the horns and tighten the shape, but once again use a mask.
If you want to paint the horns, I find it cab help to glue a small block of foam to the base of the horn so you have a ‘handle’ to use while painting the horn. Before you start painting you will need to prime the horn. To do this, thin down the contact glue so its very runny and paint the entire horn with the mixture, Once its dried you can paint the horn.
I generally spray paint a base colour and then add detail to the horn with acrylic ink. To seal the paint and to make the horns more durable, I then varnish the horns. Once they are finished I remove the foam block and either permanently attach the horns to a wig or glue a flat disk to the bottom of the horns and then feed them into a head band.
You can use the same ‘Laminating’ technique to create complex shapes such as wings and other cool stuff
